
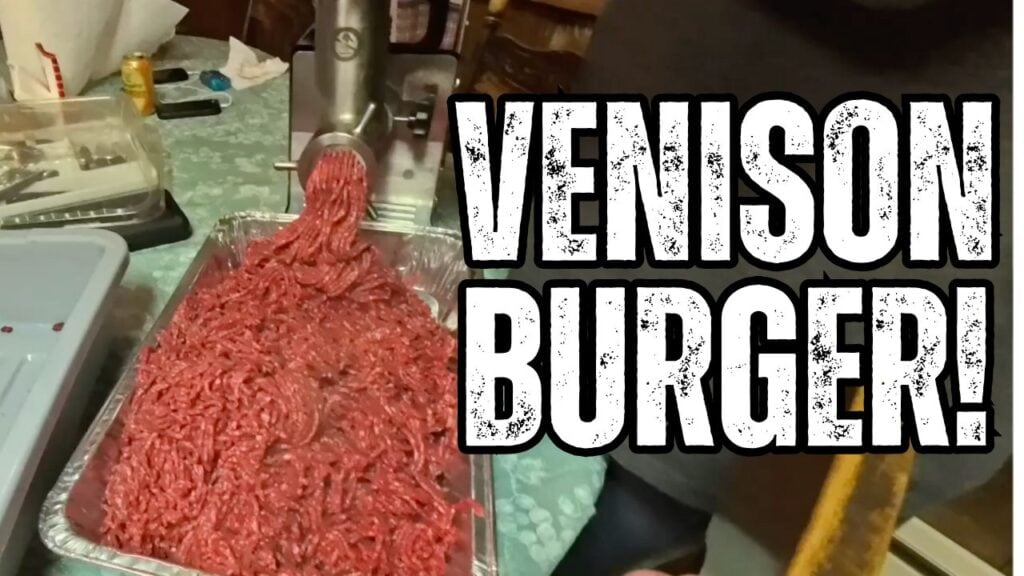
Grinding your own venison should be simple, but most hunters make it way harder than it needs to be. Warm meat gums up the grinder. The fat smears. The texture turns mushy instead of clean and strand-like. And if you’ve never taken a grinder apart before, the whole setup can feel confusing fast.
The truth is that grinding deer meat is a straightforward process once you learn the steps and understand a few rules about cold meat, blade direction, plate choice, and horsepower. I filmed this entire process at our hunting camp with my brother Dan, who has been grinding venison, beef, pork, chicken, and even raw dog food for years. His know-how makes this walkthrough incredibly practical.
This guide gives you everything a beginner needs to turn a pile of deer meat into clean, high-quality burger. You will learn how to set up a grinder the right way, how to keep the meat cold enough so the fat cuts clean, how to pick the right plates, how to mix a perfect 70 percent venison and 30 percent beef blend, and how to troubleshoot the most common grinding problems.
If you’ve ever fought a grinder or ended up with mushy venison, this solves that for good.
Why Grinding Venison Matters for Hunters
Store-processed venison is unpredictable. You never really know how clean the equipment was, how old the fat is, or whether your deer was mixed with someone else’s. Processing your own meat gives you complete control over quality.
Venison is naturally very lean, which means it dries out easily in the pan. Adding beef creates a better fat ratio for burgers, meatloaf, sauces, and chili. When you mix your own blend, you know exactly what is in it, and you can adjust it based on what you like.
Grinding also helps you use every part of your deer efficiently. Trim that won’t make great steaks becomes incredible burger when handled correctly.
The Most Important Rule: The Meat Must Be Cold
Before we touch a grinder, this rule needs to be burned into your mind. The single biggest reason grinders gum up or push out mush is warm meat.
When venison warms up, the fat gets soft. Soft fat does not cut. It smears. It clogs the auger. It fills the plate holes. And soon the grinder sounds like it’s chewing gum instead of meat.
Semi-frozen meat fixes everything.
You want the cubes of venison and beef to feel firm, icy, and stiff, but not rock hard. If the meat bends easily or feels warm on the surface, chill it longer. Cold meat cuts cleaner, feeds better, and gives you a perfect texture on the first pass.
The grinder parts help with this too. A cold auger, cold blade, and cold plate keep friction low so the fat stays firm while cutting.
If you take nothing else from this post, take this: Cold meat equals clean grind. Warm meat equals a mess.
Grinder Choice: Why Horsepower Matters More Than Watts
You will see grinders advertised two ways:
- Watts (the cheap ones)
- Horsepower (the real measurement)
Watts tell you nothing about the grinder’s torque or strength. Cheap brands use watt ratings to mislead buyers. Experienced processors know horsepower is the true indicator of performance.
A 0.4 horsepower grinder, like the Sportsman’s Valley model we used, is perfect for the everyday hunter. It’s strong enough to chew through venison without choking and small enough to store easily. A 0.75 horsepower grinder is even better if you process multiple deer or grind large batches.
The Valley Sportsman .4 HP meat grinder we used at camp handled venison extremely well, especially when the meat was cold. It is exactly the size most hunters should buy.
Here are a few others we recommend:
- STX International Turboforce II 4000 Electric Meat Grinder (Grinds small bones)
- Weston Electric Meat Grinder and Sausage Stuffer (Best Budget Option)
- LEM Products BigBite .5 HP Meat Grinder
- Vevor 1.5 HP Meat Grinder (661 lbs per hour)
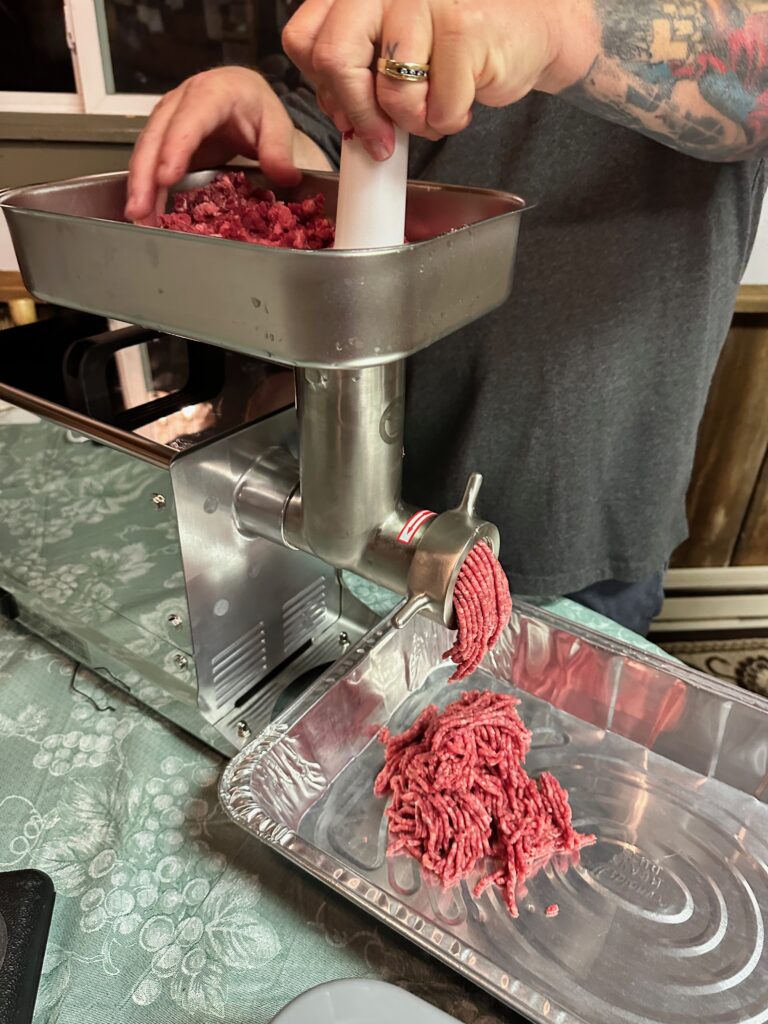
How To Set Up a Meat Grinder the Right Way
A lot of grinders fail before they even touch meat because the setup was done incorrectly. Dan breaks this down step-by-step, and it’s worth learning carefully.
1. Remove the front cap
This exposes the auger and plate assembly. The cap locks everything in place.
2. Pull out the auger
This long screw pulls meat through the grinder. If it is dirty or assembled wrong, it will not feed smoothly.
3. Clean every part
Even brand-new grinders have packing oil on the parts. Wash the auger, blade, and plates in warm soapy water. Dry completely.
4. Assemble the blade correctly
This part confuses beginners. The blade has a flat side and a tapered side.
The flat side must face the plate, because that is the cutting surface.
If the blade is backward, the grinder will mash instead of cut, and the grind will look smeared and sticky.
5. Choose the coarse plate for the first grind
The coarse plate has bigger holes and gives the grinder less resistance. This keeps the cut clean and prevents strain.
6. Lock everything into place
When you reinstall the plate and cap, make sure the grooves line up and the cap tightens firmly. A loose cap will cause vibration and uneven grinding.
7. Attach the top tray
This holds the meat cubes before they go into the chute.
When the grinder is fully assembled, it should feel tight, clean, and solid.
The First Grind: Using the Coarse Plate
The coarse grind is the foundation of good burger. This is your first pass through the grinder and sets up everything that comes later.
Drop the semi-frozen venison into the chute and use the plunger lightly. Never force the meat. Let the auger pull it naturally. If you press too hard, you compact the meat and slow the grind.
The coarse strands should come out thick and rope-like. This texture mixes better with beef and helps the grinder work more efficiently on the second pass.
If you are mixing beef into your 70/30 blend, you can grind the beef on this pass or mix it in later. Both methods work. The key is even distribution.
Why 70 Percent Venison and 30 Percent Beef Works Best
Venison is extremely lean. That is why it tastes so clean, but it is also why it dries out quickly. Adding beef gives you the fat you need to make burger that binds well and cooks evenly.
A 70/30 blend is the sweet spot for:
- Burgers
- Meatloaf
- Chili
- Tacos
- Spaghetti sauce
- Anything where you want moisture and flavor
You can use 80/20 if you want leaner burger or 60/40 if you want more fat. But for most hunters, 70/30 feels familiar and cooks exactly like store-ground beef.

Mixing the Meat Before the Second Grind
Once your coarse grind is done, dump it into a large tub and mix the venison and beef by hand. You don’t need to overwork it. Just gently fold the meat until the color looks consistent.
Keep the tub cold. If the meat warms up at this stage, put the tub in the freezer for ten minutes before running the second grind.
The Second Grind: Using the Fine Plate
This is where the magic happens.
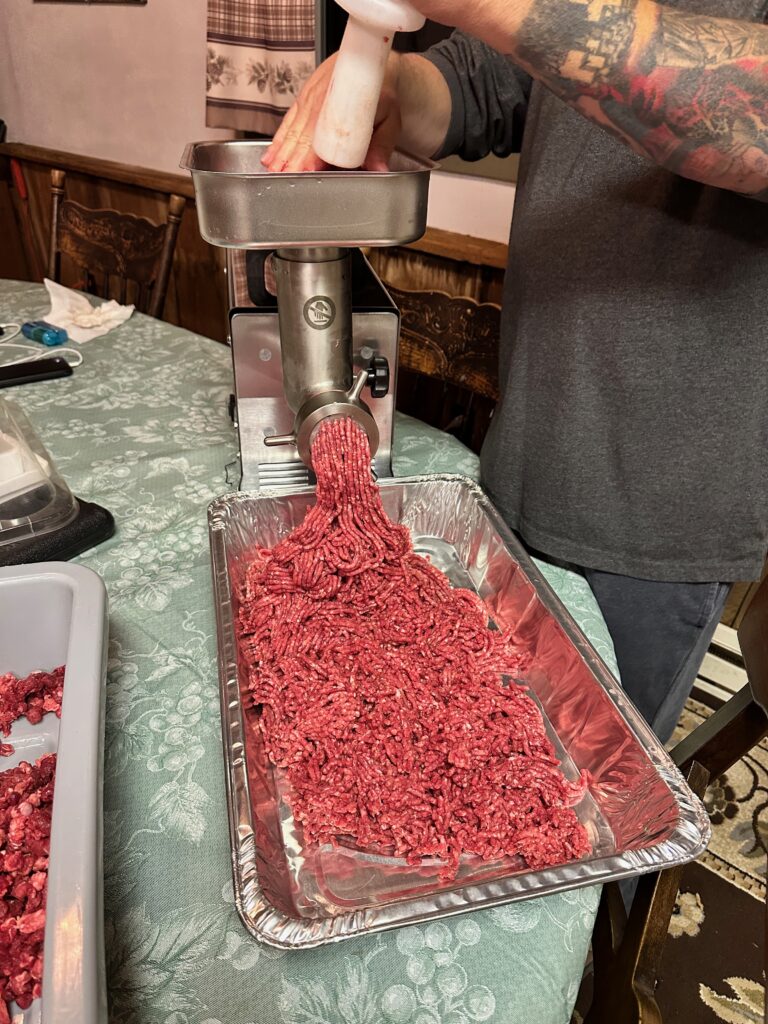
The fine plate produces long, thin strands that look like store-ground beef. The difference is that your version will taste far better because the meat is fresh, clean, and handled carefully.
Feed the mixed coarse grind through the grinder and let the auger do the work. The texture should come out smooth and silky. If it starts to clump or smear, the meat is warming up. Stop and chill the parts for a few minutes.
After this pass, your burger is ready to freeze, cook, or turn into patties.
Understanding Sausage Attachments
Your grinder likely came with:
- Sausage stuffing tubes
- A sausage mixer auger
These tools let you fill sausage casings and mix seasoning evenly through the meat.
If you ever want to make venison brats, snack sticks, Italian sausage, or breakfast sausage, these attachments are important. You run the meat through the mixer multiple times to create an even blend with seasoning before stuffing casings.
We did not need the sausage setup for the burger mix, but it’s nice to have the option.
Why Grinders Gum Up and How To Fix It
Every hunter eventually runs into this problem: the grinder starts pushing out mush, the auger feels hot, and the fat sticks inside the chute.
This is normal.
It happens when:
- The auger gets warm
- The fat softens
- The plate holes fill with fat
- The meat was not cold enough
The fix is simple.
Stop. Clean the plate. Let the auger cool. Chill the meat again. Then continue.
If you follow the cold meat rule, you may never see this problem again.
How To Clean a Grinder the Right Way
Cleaning the grinder keeps it sharp, prevents rust, and keeps fat from turning rancid in hidden spots.
Here is the proper method:
- Unplug the grinder
- Remove the cap
- Pull out the auger
- Take out the blade and plate
- Wash everything with hot soapy water
- Use a tube brush inside sausage attachments
- Dry every part completely
- Wipe a thin coat of food-safe oil on the blade and plates before storage
Never run the grinder with no meat inside. This scrapes the blade and damages the cutting edges.
Why You Should Use Food-Grade Silicone Spray
After you clean and dry your grinder, there is one more step that helps your grinder last longer and run smoother. A lot of beginners skip this because most grinders never mention it in the instructions, but experienced processors rely on it.
You should lightly coat your grinder parts with food-grade silicone spray before storing them. This includes the:
- Auger
- Blade
- Plates
- Front cap threads
- Inside the grinder throat
The silicone spray protects the metal from rust and keeps the blade and plate from sticking together. It also reduces friction inside the auger housing so the grinder runs cooler. Cooler parts mean firmer fat, which gives you a cleaner grind.
If you start grinding and things feel tight, or if the auger begins to squeal or warm up too fast, you probably need lubrication on the metal contact surfaces. A quick mist of food-grade silicone makes a big difference.
Never use regular silicone spray or any kind of automotive lubricant. Only use products that are marked food-safe.
Maintenance Essentials
Taking care of your grinder is simple as long as you follow a few basic rules. These steps help the grinder run smoother and last longer.
1. Lubricate metal parts with food-grade silicone
Once everything is washed and dried, apply a light coat of food-safe silicone spray. This prevents rust, reduces friction, and keeps parts from sticking. I recommend:
2. Never store parts while damp
Even high-quality plates will rust if they sit with moisture on them. Dry them completely before spraying or storing.
3. Keep the blade and plate flush
If the blade or plate warps or gets pitted from rust, the grinder will mash meat instead of cutting it. Inspect the surfaces often.
4. Chill the parts before big batches
Cold parts keep the fat firm and improve performance. Sticking the auger and plates in the freezer for ten minutes makes a noticeable difference.
5. Replace worn blades and plates
If your grind suddenly looks mushy or smeared even with cold meat, the blade is dull or the plate holes are worn. Both are cheap to replace, and fresh parts make a huge difference.
Final Thoughts From Camp
Grinding venison at hunting camp just hits different. You are hands-on with meat you harvested yourself, you’re surrounded by friends and family, and the work feels honest.
The Valley Sportsman 0.4 HP meat grinder surprised us with how much power it had. It chewed through venison easily as long as the meat stayed cold, and it produced clean strands on both coarse and fine plates. For most hunters, this size grinder is perfect.
This process gives you consistent, high-quality burger every time. Follow the cold meat rule, use the right plates, mix the meat evenly, and finish with a clean fine grind. You’ll get burger as good as any butcher shop.
If you want more deer camp content, grinder walkthroughs, and real-world gear reviews, keep following along. We have plenty more coming.
CONTINUE THE HUNTING SYSTEM
Your Next Steps
Keep the process connected from preparation through the hunt and the work that follows.
1. Follow the Everyday Bow Hunter Roadmap
Connect preparation, the hunt, and post-hunt work into one system.
2. Review My Current Gear List
See the equipment I carry before and during the hunt.
3. Use the Strategic Hunting Blueprint
Build the season around preparation and repeatable processes.
Part of the Everyday Bow Hunter System
Want to see exactly what I’m carrying this season? Check out my Personal Bowhunting Gear List for 2026